This guide covers creating a Microsoft 365 backup set: authorising against your tenant, choosing what to back up, destinations, encryption, and what can and cannot be restored afterwards.
Contents
Creating the backup set
-
Log in to the backup software.
-
In the main interface, click Backup Sets.
-
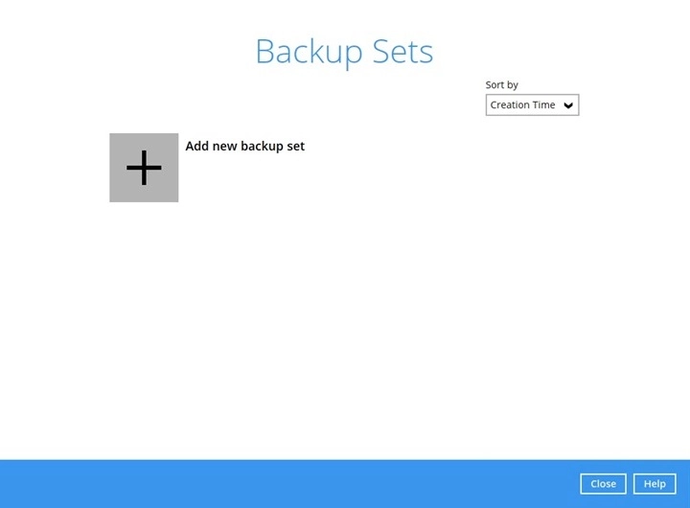
Click the + icon before “Add new backup set”.
-
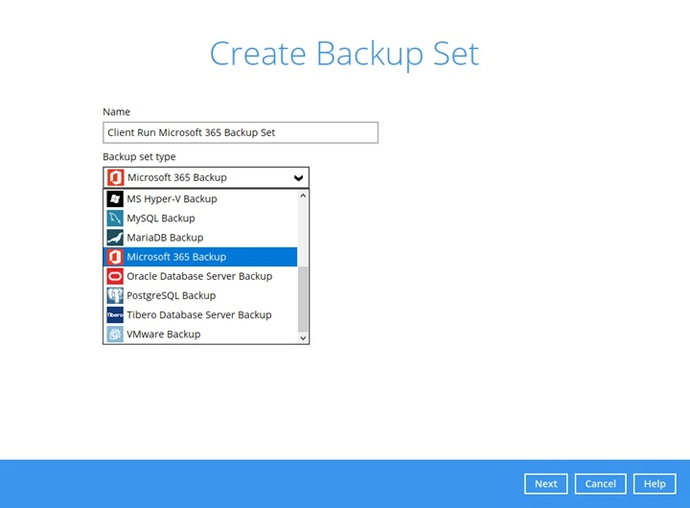
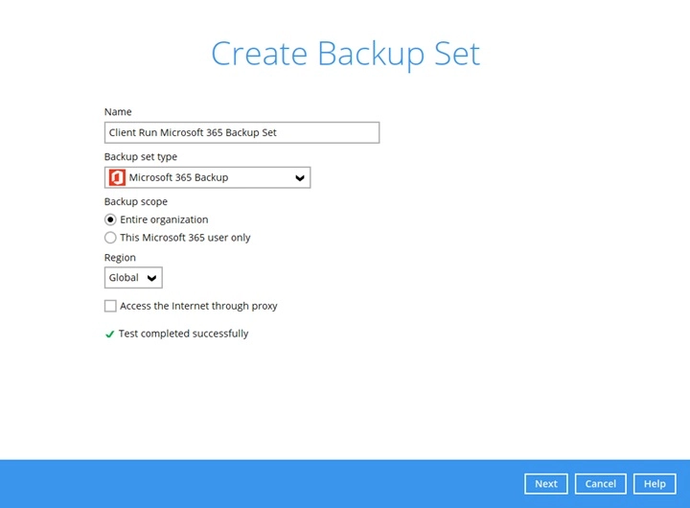
Enter a Name for your backup set and select Microsoft 365 Backup as the backup set type.
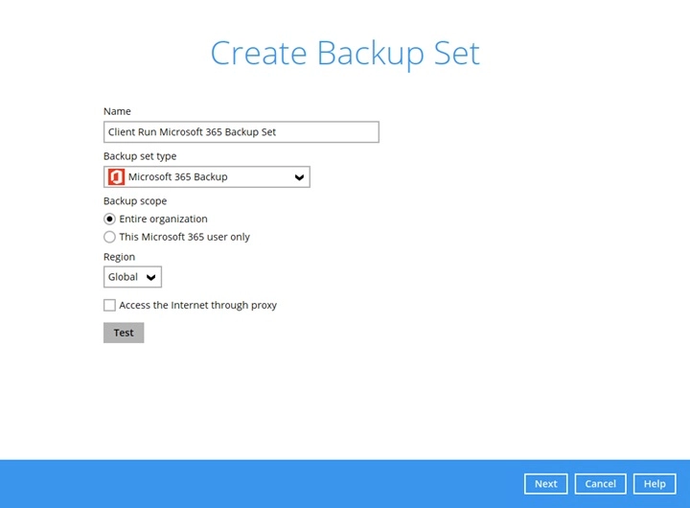
Select the Backup Scope and Region. Tick Access the Internet through proxy if needed, then click Test.
-
Click Authorise to start the authentication process.
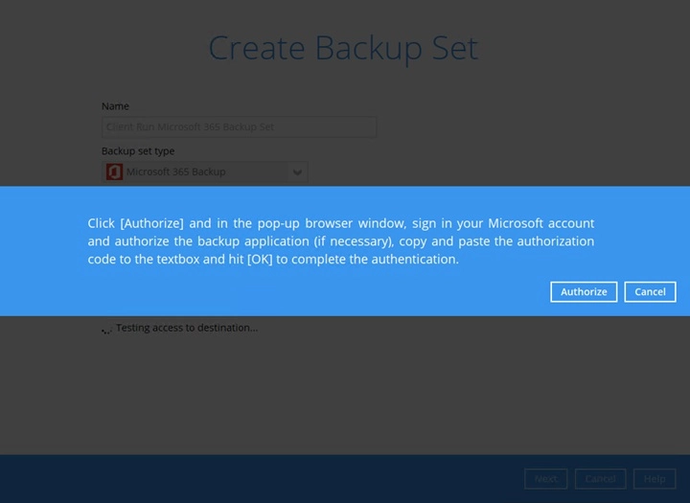
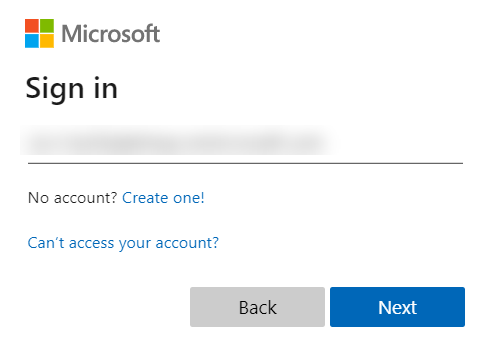
Sign in to your Microsoft account.
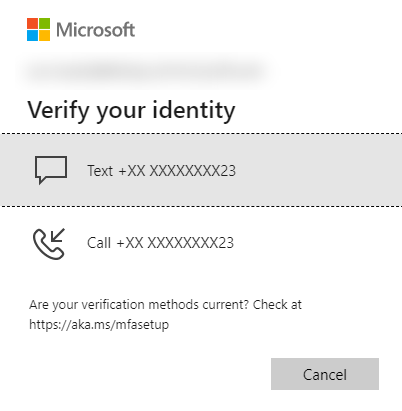
If MFA is enforced for the Microsoft 365 user account used to authenticate the backup set, select either Text or Call to verify your identity.
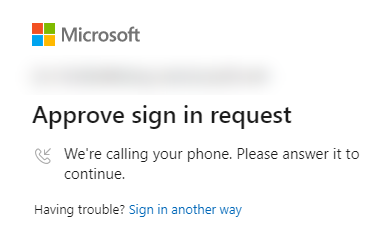
If Call was selected, answer the call and follow the instructions to complete the verification.
If Text was selected, enter the code and click Verify.
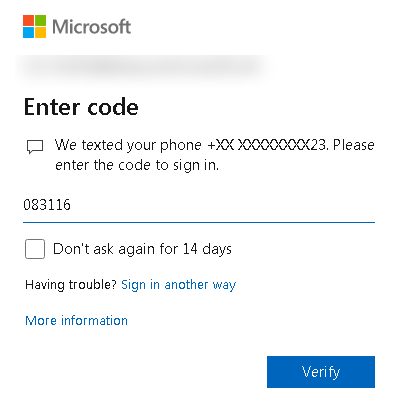
Note: a verification code is only required if the MFA status of the Microsoft 365 account is enforced.
Copy the authorisation code.
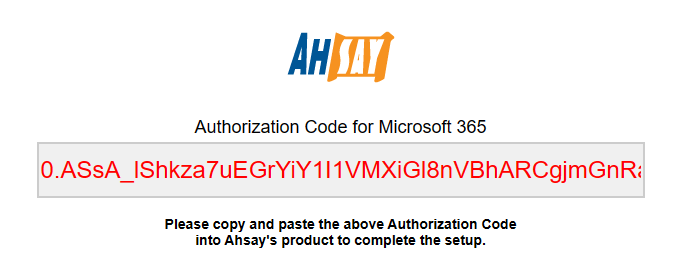
Go back to the backup software, paste the authorisation code and click OK.
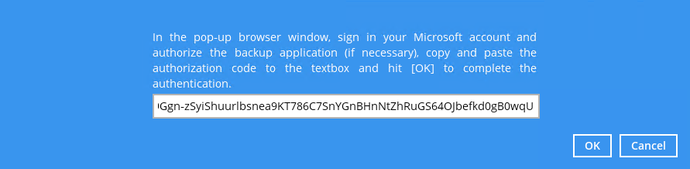
If the backup scope selected is Entire organisation but the account used to sign in is a personal account, this error message is displayed.

Change the backup scope to This Microsoft 365 user only — only a business account can be used to sign in when the scope is Entire organisation.
“Test completed successfully” is shown when the validation succeeds. Click Next to continue.
Backup source
-
The Backup Source window that appears depends on the backup scope you selected — Entire organisation or This Microsoft 365 user only.
If Entire organisation is selected
Select the users and data types to back up.
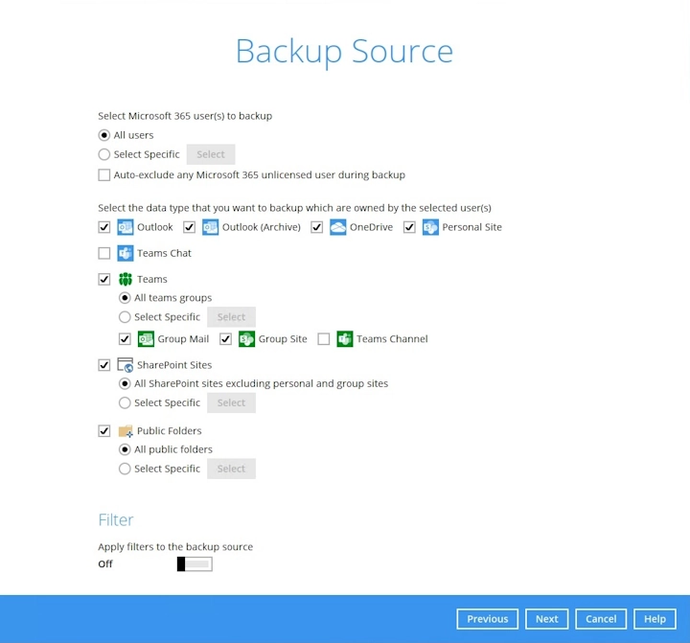
To select specific users, click Select.
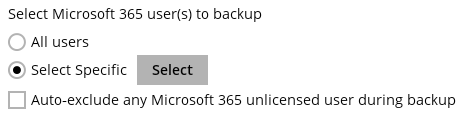
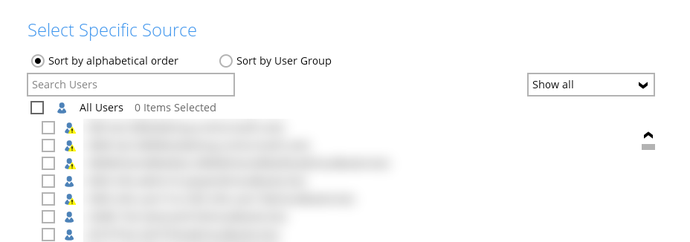
Users can be sorted alphabetically or by user group. Sorted alphabetically:
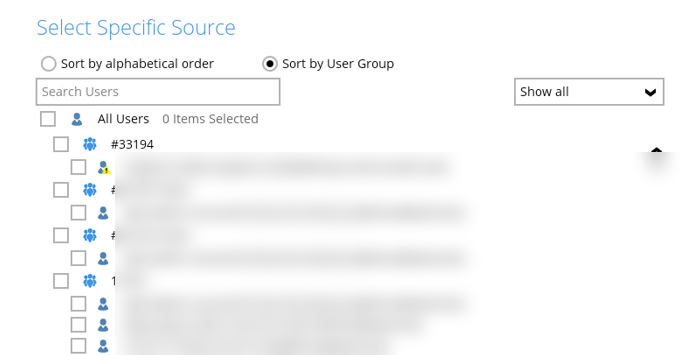
Sorted by user group:
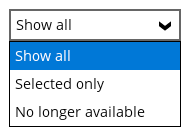
The list of users can be displayed three ways: Show all, Selected only and No longer available.
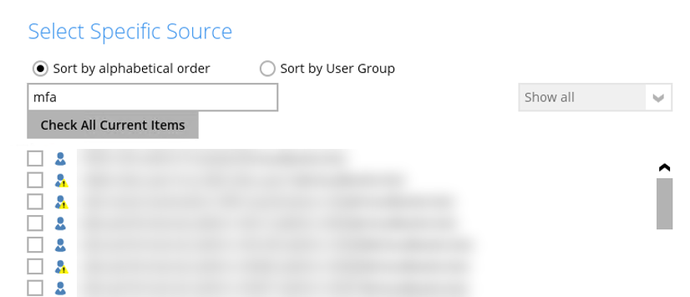
You can search for a user by entering a name or email address in the search box; matching names and addresses are listed automatically. Click Check All Current Items to select every listed user.
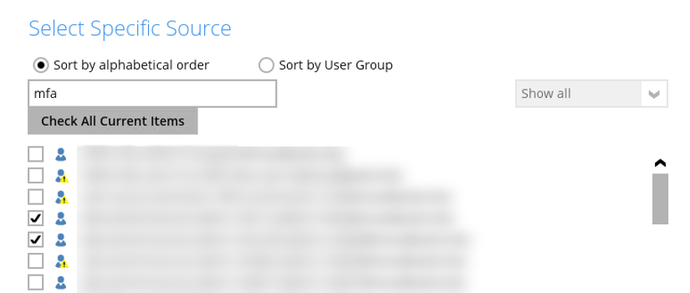
Select specific users by ticking the checkbox beside each one.
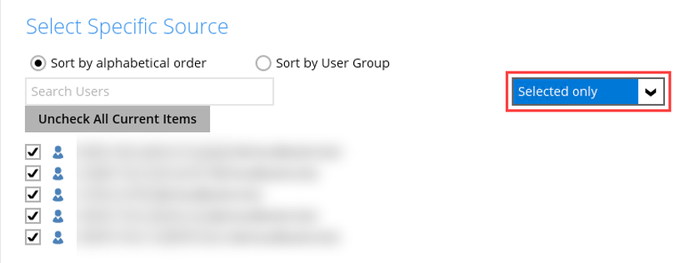
To display only the users you have selected, choose Selected only.
Click OK once done with the selection.
Tick Auto-exclude any Microsoft 365 unlicensed user during backup if you do not want unlicensed users included.

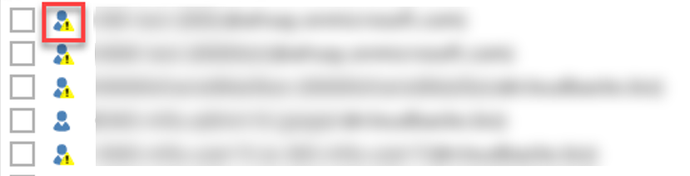
An unlicensed user is shown with a yellow warning tag on the icon.
Select the data types to include in the backup: Outlook, Outlook (Archive), OneDrive, Personal Site and Teams Chat. Ticking a checkbox backs up all of that type — ticking Outlook, for example, backs up the mailboxes of the selected users. For Teams Chat you do not need to select the other user accounts involved in a chat to back up the conversation.

Select whether to back up Teams, SharePoint Sites and Public Folders. To back up a specific group in Teams, tick Select Specific, then click Select.
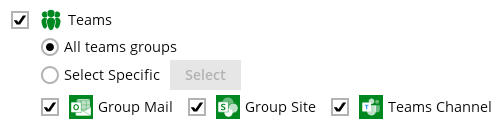
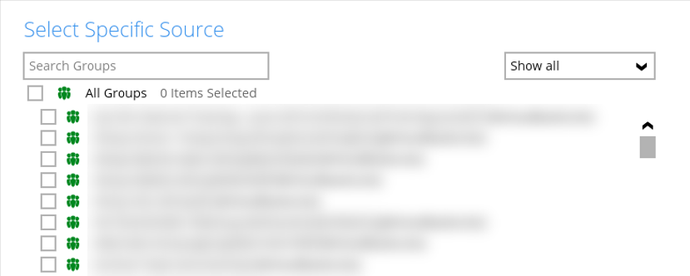
You can search for a group by entering its name in the Search Groups field. Groups can also be displayed as Show all, Selected only or No longer available. Click OK once done, and choose whether Group Mail, Group Site and Teams Channel are included.
Note: to back up shared attachments on certain Teams Channel posts, OneDrive and Group Site must both be selected as source.
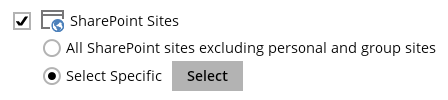
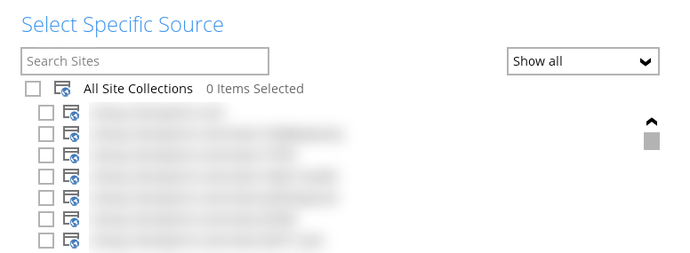
To back up a specific site in SharePoint Sites, tick Select Specific, then click Select. Searching and listing sites works the same way as for users.
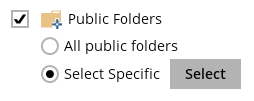
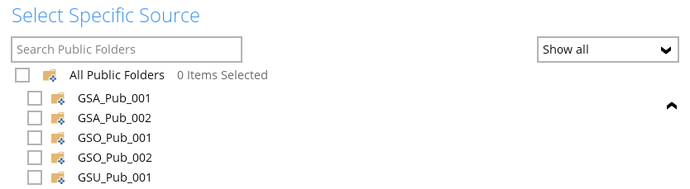
To back up a specific public folder, tick Select Specific, then click Select. Searching and listing public folders works the same way.
If This Microsoft 365 user only is selected
The window shown depends on the type of account used for authentication. For a business account:
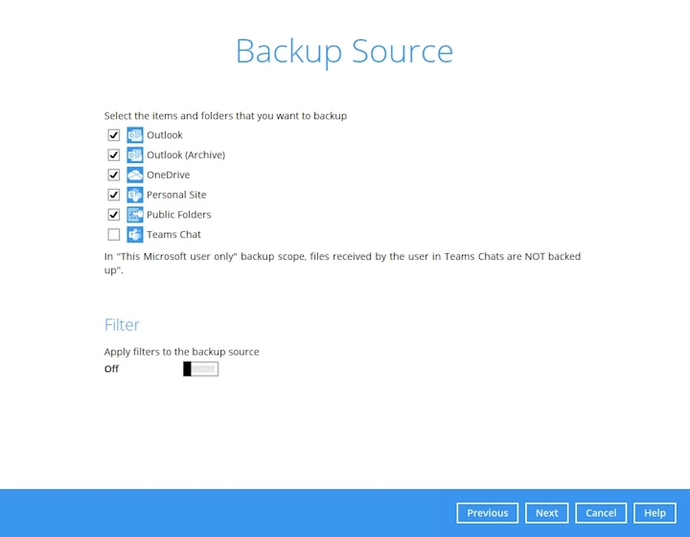
Note: this message appears if OneDrive is not selected but Teams Channel and/or Teams Chat are.

For a personal account:
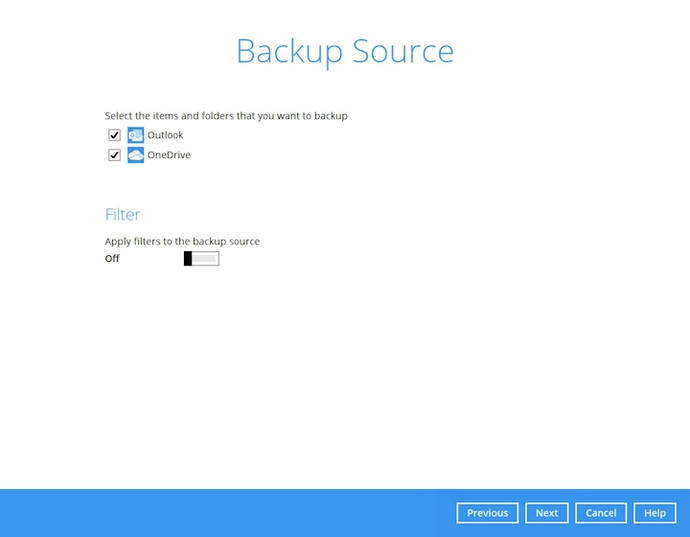
Note: for instructions on using the Filter, refer to the Backup Source Filter section.
Schedule
-
In the Schedule window, configure a backup schedule so backup jobs run automatically at your specified intervals.
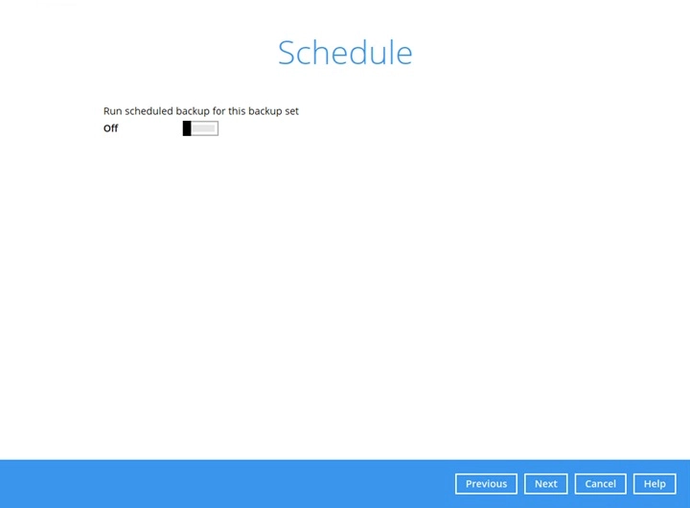
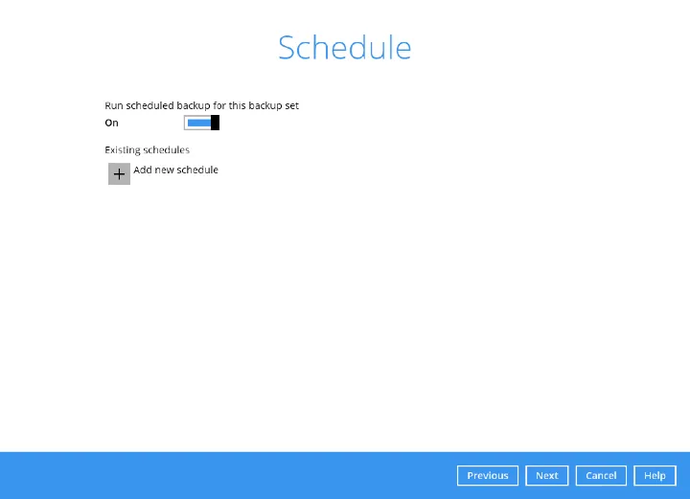
Slide the on/off button to turn the feature on, then click + Add new schedule and configure the settings in the New Backup Schedule window.
Destination
-
In the Destination window, select a backup destination for the backup data. Click the + icon before “Add new storage destination”.
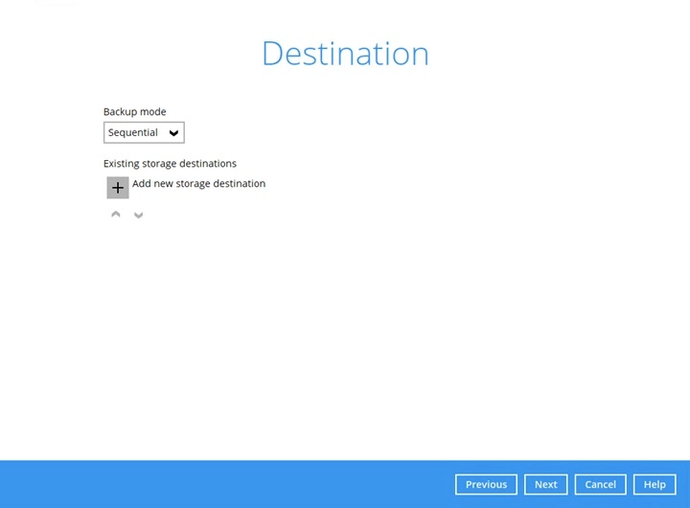
Select the storage destination.
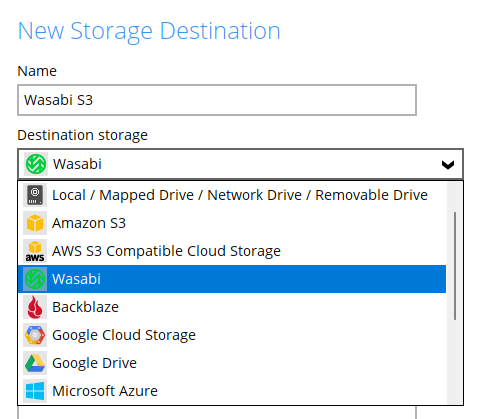
You can choose destinations such as Local / Mapped Drive / Network Drive / Removable Drive or cloud storage. Click OK when you are done with the settings.
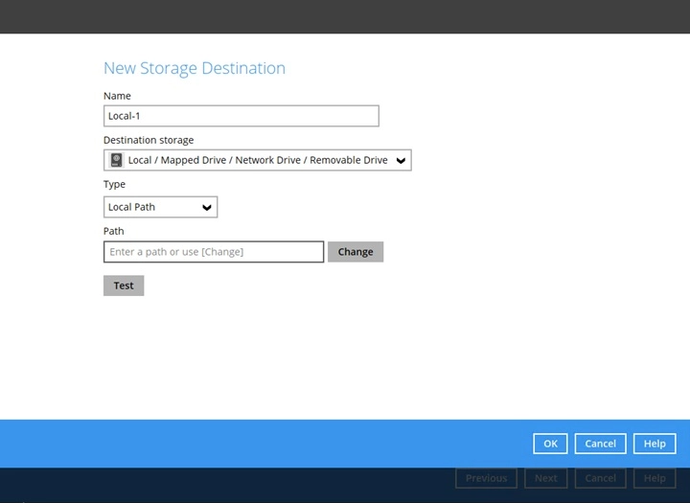
- If you chose Local / Mapped Drive / Network Drive / Removable Drive, select the Type. Click Change to browse to a directory path where backup data will be stored, or enter the path manually. Tick This share requires access credentials if credentials are needed. Click Test to validate the path; “Test completed successfully” is shown when validation is done.
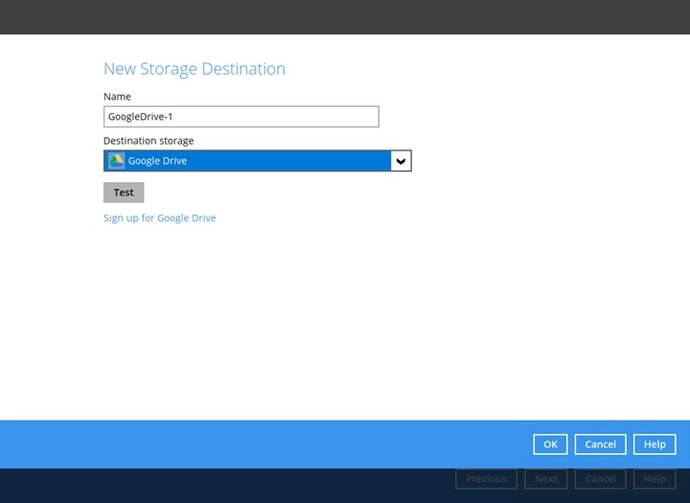
- If you chose cloud storage, click Test to log in to the corresponding cloud storage service.
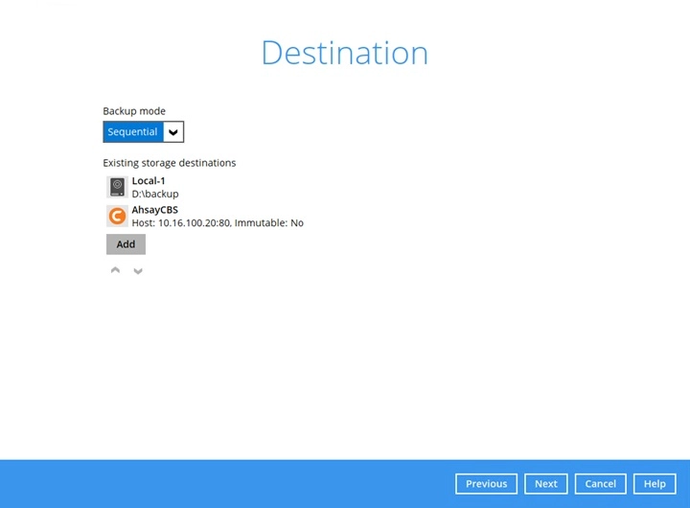
You can add multiple storage destinations. Backup data is uploaded to all of them, in the order you added them. Use the up and down icons to change the order. Click Next to proceed.
Encryption
-
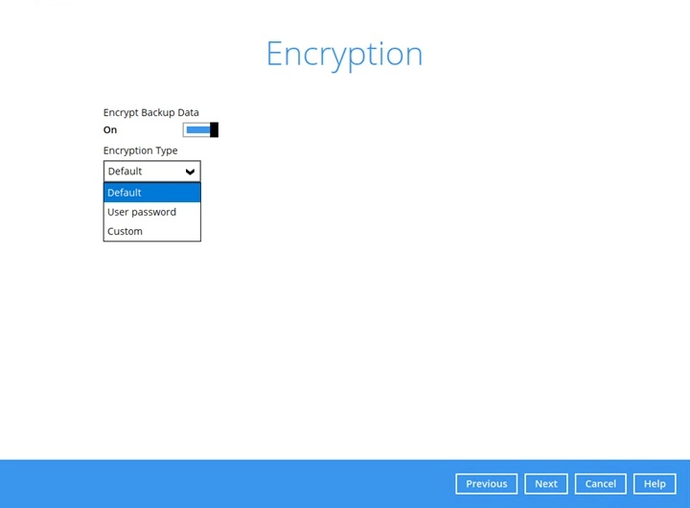
In the Encryption window, Encrypt Backup Data is enabled by default with an encryption key preset by the system, which provides the most secure protection. Click Next when you are done.
-
If you enabled the encryption key feature in the previous step, the following pop-up window is shown, whichever encryption type you selected.

- Unmask encryption key — the key is masked by default; click to show it.
- Copy to clipboard — copies the encryption key so you can paste it somewhere of your choice.
- Confirm — exits the pop-up and proceeds to the next step.

Important: write the encryption key down and keep it somewhere safe. Without it your backup data cannot be restored, and we cannot recover it for you.
Finishing up
-
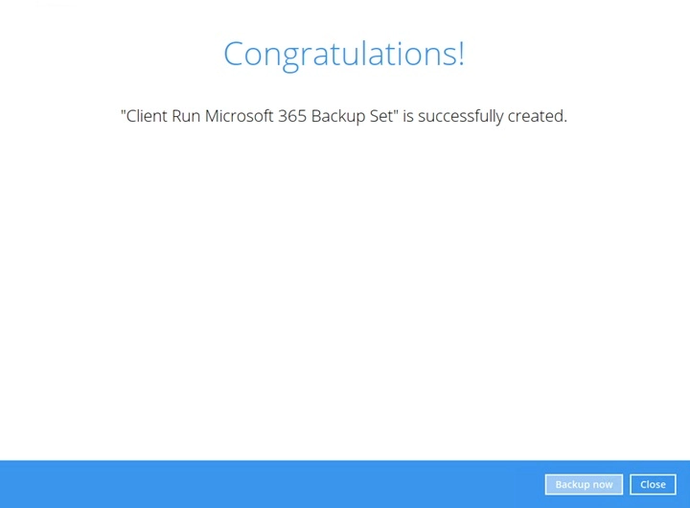
This screen is displayed when the new Microsoft 365 backup set is created successfully. Click Backup now to back up your data, or Close to return to the main screen.
-
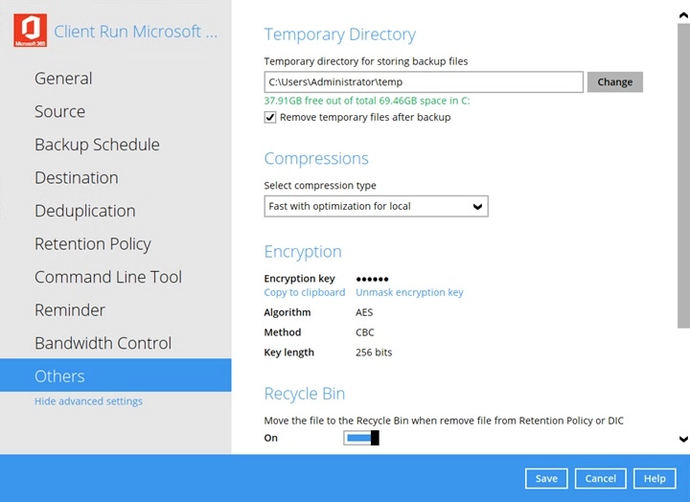
We strongly recommend changing the Temporary Directory to a location with sufficient free disk space other than drive C. Go to Others > Temporary Directory and click Change to browse to another location.
-
Optional: select your preferred compression type. By default the compression is Fast with optimisation for local. Go to Others > Compressions, then choose from No Compression, Normal, Fast (compressed size larger than normal) or Fast with optimisation for local.
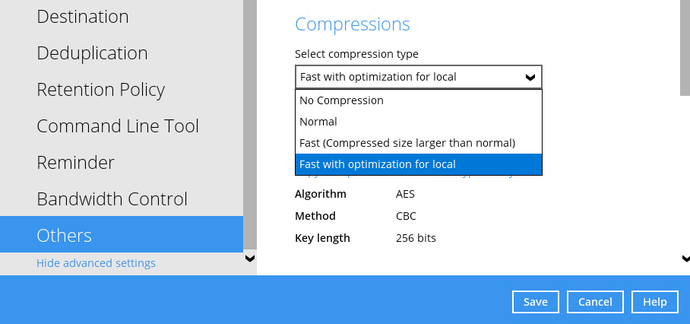
Click Save to apply the changes.
What can be restored
For the restore walkthrough itself, see Microsoft 365 Restore. This section covers what you get back.
Most Microsoft 365 data restores as it was backed up. A few things are limited by what Microsoft’s APIs allow, rather than by the backup software, so it is worth agreeing expectations before they are tested.
| Data | Restores as backed up? | Notes |
|---|---|---|
| Outlook mail, calendar and contacts | Yes | Messages, folder structure and attachments. Can be restored to the original mailbox or an alternate one. |
| Outlook (Archive) | Yes | The archive mailbox is a separate backup source — it must be selected explicitly or it is not backed up at all. |
| OneDrive files | Yes | File content restores intact. |
| SharePoint and Group Site documents | Partly | Documents in libraries restore. Site structure, web parts, workflows and customisations are not recreated — treat this as document recovery, not site recovery. |
| Sharing permissions and links | No | Restored items come back without their original sharing. On a large restore, re-sharing is manual. |
| File version history | No | A restored file arrives as the version held in the backup. Earlier SharePoint or OneDrive version history is not recreated alongside it. |
| Teams Chat and Channel messages | No — not back into Teams | Microsoft’s Teams Export API is read-only: there is no supported way to write messages back into Teams. Conversations are recoverable as readable exported content, not as live chats. This is a Microsoft limitation and applies to every backup vendor. |
| Public Folders | Yes | — |
| Links to restored items | No | Restored items are assigned new IDs, so existing links, bookmarks and embeds pointing at the originals will not resolve. |
Restoring after a user is deleted
Microsoft keeps a deleted user recoverable for 30 days under Users > Deleted users in the Microsoft 365 admin centre. Within that window, restoring the user is quicker than restoring their data, and brings back the mailbox and OneDrive with it.
After 30 days the account is gone. Data cannot be restored into an account that does not exist, so you would recreate the user — which requires a licence — and restore into it, or restore the data to a different existing account if it only needs to be readable.
Note: Microsoft 365 retention, litigation hold and the recycle bin are not backups. They are time-limited, they can be cleared by an administrator, and they do not survive the tenant itself being lost. The backup set described in this guide is held separately from your tenant, which is the point of it.
Troubleshooting
| Symptom | Cause and fix |
|---|---|
| An error appears when Entire organisation is selected | The account used to sign in is a personal account. Only a business account can authorise an organisation-wide backup. Either sign in with a business account, or change the scope to This Microsoft 365 user only. |
| A verification code is requested unexpectedly | MFA is enforced on the account being used to authorise. Complete the Text or Call verification. If the account is a service account, check whether a conditional access policy is forcing MFA on it. |
| Shared attachments missing from Teams Channel posts | Both OneDrive and Group Site must be selected as backup sources for those attachments to be captured. |
| A warning appears when selecting Teams Chat or Teams Channel | OneDrive is not selected. Teams content depends on it, so add OneDrive to the backup source. |
| Unlicensed users cause backup failures | Tick Auto-exclude any Microsoft 365 unlicensed user during backup. Unlicensed users are shown with a yellow warning tag. |
| Backups fail with insufficient disk space | The temporary directory is still on drive C. See the final step above. |
| Authorisation stops working after a period | The stored token has expired or been revoked — commonly after a password change, an MFA reset or a conditional access change. Re-run the authorisation on the backup set. |
For restoring from one of these backup sets, see Microsoft 365 Restore.
If you need a hand with any of the above, contact us at support@bobcloud.net.