Definitions
Server software is our backup software for servers and NAS devices. This guide installs it on a Synology NAS, where its package folder is serverbackup.
Desktop software is our backup software for desktops and laptops.
Which Synology NAS models are supported?
See the Hardware Compatibility List (HCL) for Synology NAS.
How to create a Synology backup account on BOBcloud
- Create a server account in the Reseller Portal. The Synology module only works on a Server account, not a Desktop account.
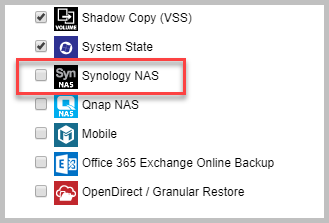
- Add the Synology module from the customer’s page in your portal, under manage backup account settings ».
- Download the Synology module directly from the backup server. To find which cluster the backup account is on, check the right-hand side of the customer’s page.
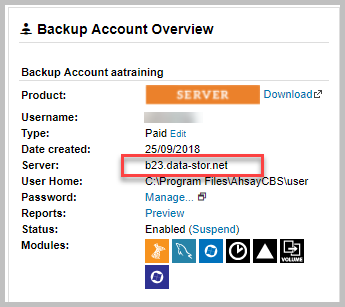
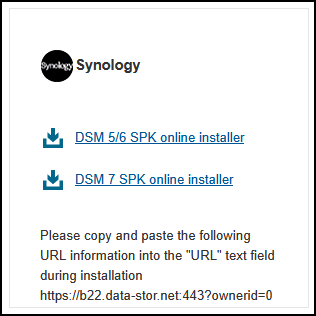
Enter that cluster URL in a web browser and, on the Server page, find the Synology DSM module that suits your NAS, for example https://b23.data-stor.net/cbs/system/ShowDownload.do.
Make a note of the backup cluster’s URL (for example https://b23.data-stor.net). You will paste it into the URL field during installation.
Online installation: SPK online installer
- In a web browser, go to your Synology NAS:
http://<NAS IP address>:5000(orhttps://<NAS IP address>:5001). - Log in to DiskStation Manager (DSM) with the admin account.
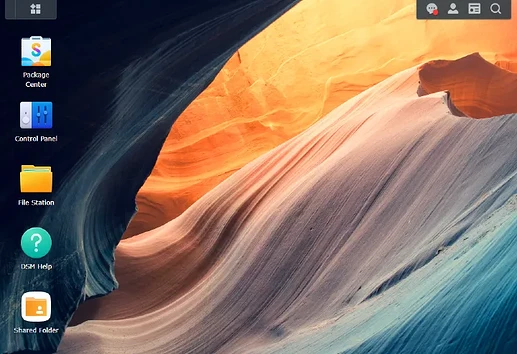
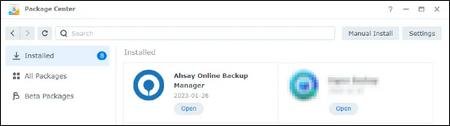
- Click the Package Center icon on the desktop.
- If you get permission errors when installing the module, change the trust level first: in Package Center, click Settings, and on the General tab set Trust Level to Any publisher (“Allow installation of any package regardless of publisher and integrity”).
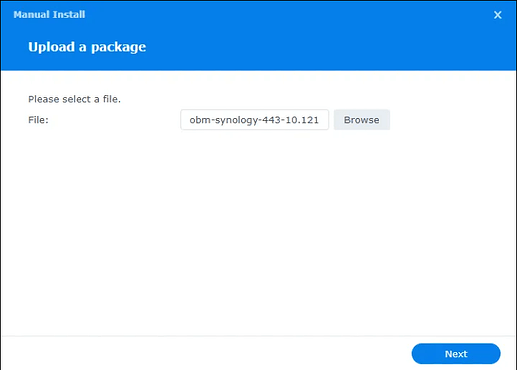
- Click Manual Install.
- Click Browse, select the Server software SPK file you downloaded (for example
obm-synology-443-10.121.100.16-https-0O.spk) and click Next.
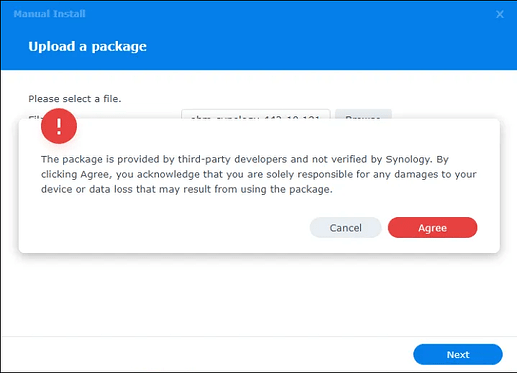
- When the warning message appears, click Agree.
- Read the licence agreement, tick I accept the terms of the license agreement and click Next.
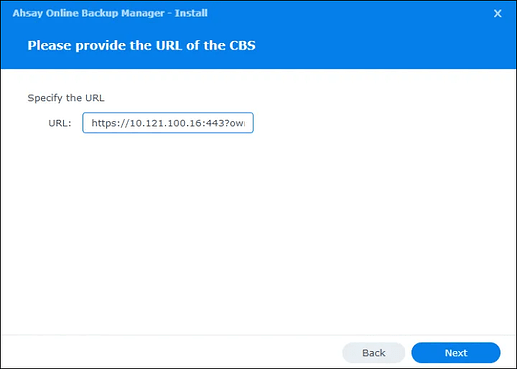
- In the install window, paste the backup cluster URL you noted earlier and click Next.
- Review the summary and click Done to start the installation.
- When the installation has finished, the Server software is listed under Installed packages.
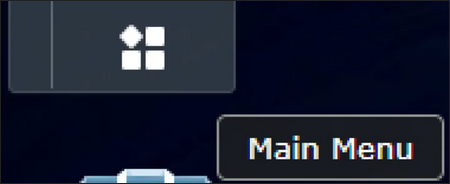
- To open the Server software, click the Main Menu icon at the top left of the desktop, then click the Server icon.
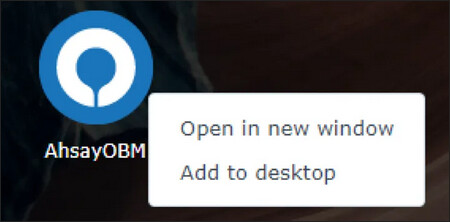
To make it easier to find, right-click Server and click Add to desktop.
FAQs
The backup is running, but no data is backed up
The backup user needs permission to read the source folders:
- Log in to DSM.
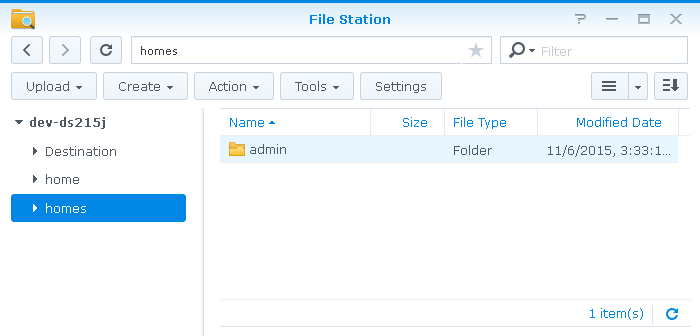
- Open File Station from the desktop or the main menu.
- Select the source folders you want to back up.
- Right-click the selected folder and choose Properties.
- On the Permissions tab, make sure the user account running the Server software has Read/Write permissions, and tick Apply to this folder, sub-folders, and files.
- Click OK or Apply to save the changes.
What can be backed up on a Synology NAS?
Only folders and files shown in File Station can be backed up by the Server software on a Synology NAS.
Which backup destinations are supported?
All predefined storage destinations, other cloud storage you have configured, network storage, and local or removable storage on the NAS.
Where are the encryption keys for the backup sets stored?
The encryption keys are saved in /volume1/@appstore/serverbackup/.obm/config/settings.sys. volume1 is the default volume. If the package is installed on another volume, use that instead.
You must also keep a copy offline.
How do I stop a scheduled backup job?
- Connect to the Synology NAS over SSH.
- Run this command, replacing
%backupset_id%with the ID of the backup set:
touch /volume1/@appstore/serverbackup/.obm/ipc/BackupSet/%backupset_id%/stopBackups on the Synology NAS are slower than on other platforms
Backups on a Synology NAS can be slower because a NAS usually has less memory and processing power than a desktop or server for compression, encryption and delta generation.
The default Java heap size for the Server software on Synology NAS is 256 MB. You can increase it to improve backup performance (see below).
How to change the Java heap size for the Server software on Synology NAS
- Connect to the Synology NAS over SSH.
- Open this file in a text editor:
/volume1/@appstore/serverbackup/obm/bin/WuiService.sh - Change the
-Xmxvalue on theJAVA_OPTSline. For example, change:
to:JAVA_OPTS="-Xrs -Xms64m -Xmx256m -Dsun.nio.PageAlignDirectMemory=true"
Leave the other lines, such asJAVA_OPTS="-Xrs -Xms64m -Xmx512m -Dsun.nio.PageAlignDirectMemory=true"JNI_PATH, unchanged. - Save the file and exit the text editor.
Advanced backup settings are missing from the Synology app
Backup Filter, Continuous Backup, Retention Policy, Command Line Tool, Reminder and Bandwidth Control aren’t in the Server software interface on Synology NAS, because the interface is simplified there. Configure these settings in the Reseller portal, or ask Support to help.
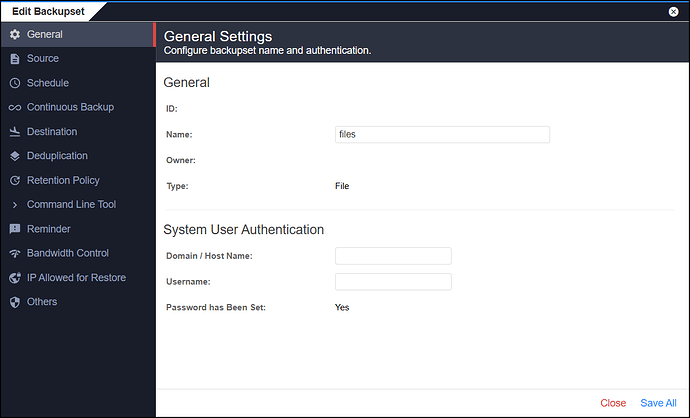
- Backup Filter
- Continuous Backup
- Basic Retention Policy
- Follow Link
- Compression Type