You can back up to your own Microsoft Azure storage instead of BOBcloud’s storage. It’s quick to set up, and Azure’s cool blob storage is low cost: about £0.01 per GB per month for locally redundant (LRS) storage in the UK. Prices change, so check the Azure pricing calculator for current costs.
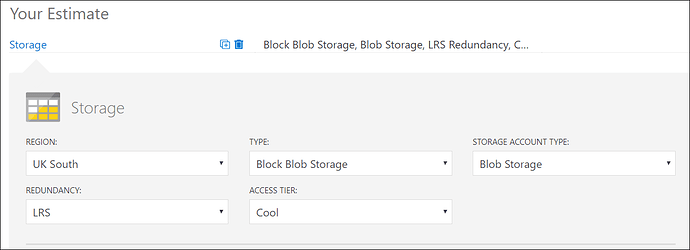
Note: the Azure portal has changed since these screenshots were taken, so your screens will look different. Follow the menu and field names in the steps.
Create the storage account in Azure
- If you don’t have one, create an Azure account at https://azure.microsoft.com/en-gb/free/. Microsoft offers new customers free credit for the first 30 days, plus free monthly amounts of some services for 12 months.
- Sign in to the Azure portal. In the search box at the top, search for and select Storage accounts, then click Create.
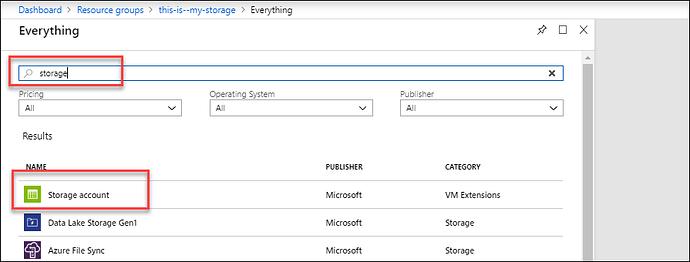
- On the Basics tab, fill in:
- Subscription: the subscription to bill.
- Resource group: choose one, or click Create new. A resource group is a folder that holds your Azure services.
- Storage account name: 3 to 24 characters, using only lowercase letters and numbers. It must be unique across Azure.
- Region: for example, UK South.
- Preferred storage type: Blob storage.
- Performance: Standard.
- Redundancy: Locally-redundant storage (LRS), the lowest-cost option.
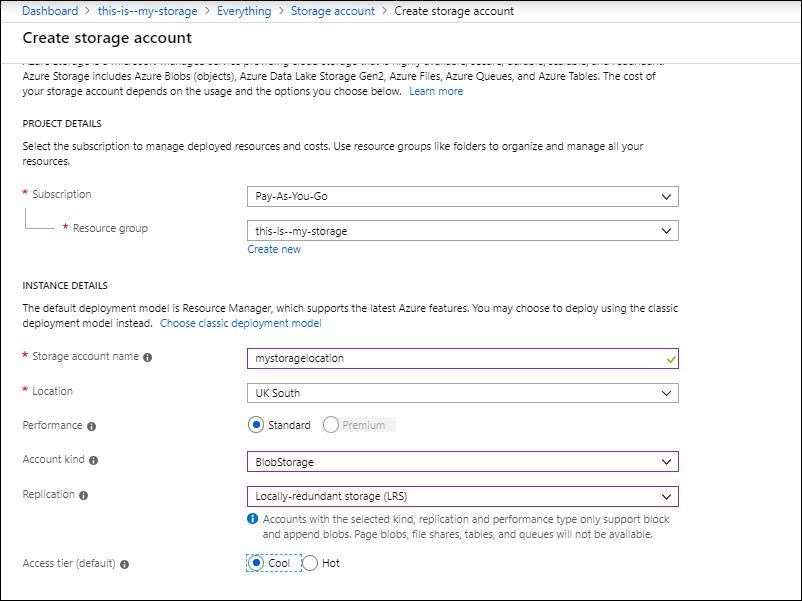
- Click Next to go to the Advanced tab, and check these two settings:
- Access tier: change it from Hot to Cool, which costs less for backup data.
- Enable storage account key access: leave this ticked. The backup software connects with an access key, so it won’t work if this is off.
- Click Review + create, then Create. After a short wait, click Go to resource to open the new storage account.
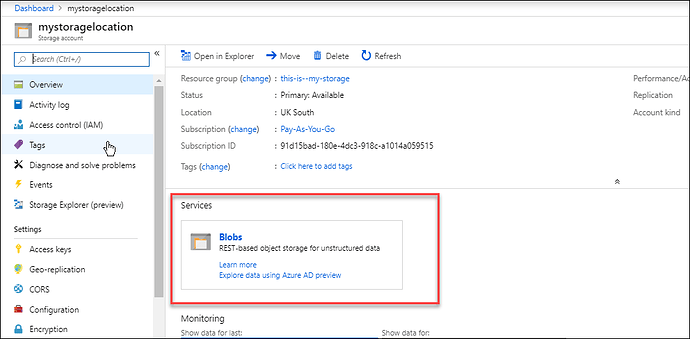
- In the left-hand menu, click Security + networking → Access keys, then click Show keys.
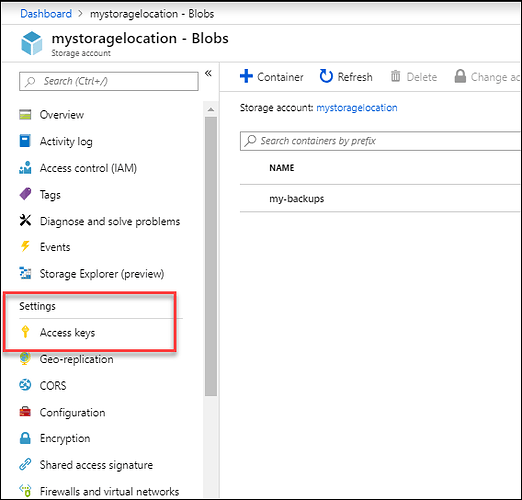
- Copy the Storage account name and the Key under key1, using the copy icon next to each. You’ll need them for the backup set. Keep the key private: anyone who has it can access your storage.
You don’t need to create a container. The backup software creates one the first time the backup set runs.
Add the Azure destination to your backup set
- Open the BOBcloud software and create a new backup set, or edit an existing one.
- Go to Destination and click + to add a new storage destination.
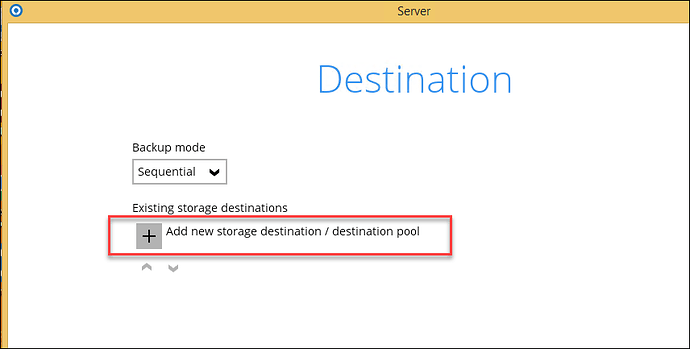
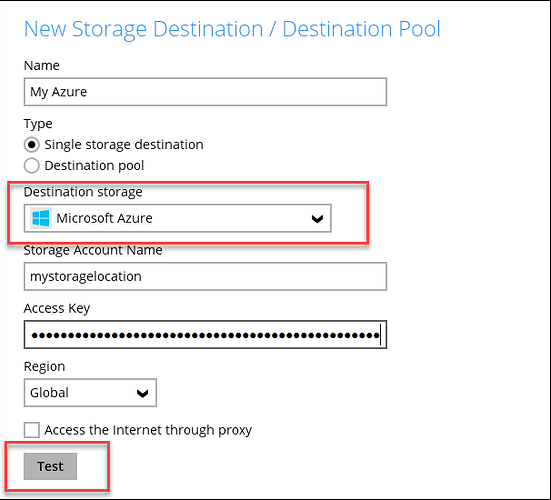
- Under Destination storage, choose Microsoft Azure. Don’t choose the predefined BOBcloud Azure destination in the list: that one uses BOBcloud’s storage, not yours.
- Give the destination a name, then enter the Storage Account Name and Access Key you copied. Leave Region set to Global. If there is a Container field, leave it blank.
- Click Test. If your Azure details are correct, a green tick appears.
- Finish creating the backup set and run the backup.
Check the backup in Azure
In the Azure portal, open your storage account and click Data storage → Containers. You’ll see a new container whose name starts with ahsay-, followed by a number and your region. Each backup set creates its own folder inside it.
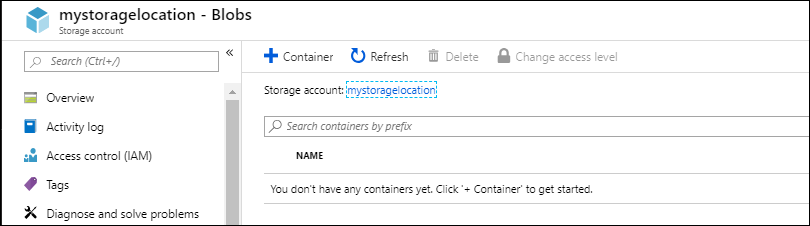
If the container is private (the default), use Storage browser in the left-hand menu to look inside it.
If you want backups that can’t be changed or deleted for a set time, see this guide to creating a backup set with an immutable Azure destination. Immutable destinations use a shared access signature (SAS) token instead of the access key.