Video guide
Watch how to change a backup set’s retention period on YouTube, or follow the steps below.
Overview of retention
Retained data is the history of a backup set: files you have deleted from the device, and older versions of files that have changed since they were backed up. The retention period controls how long this history is kept.
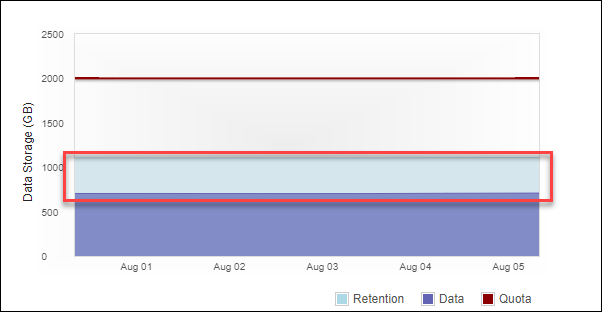
You can set the retention period from one day upwards, or keep history forever. Retained data is shown in light blue on each customer’s page in your reseller portal.
1. Change the retention period
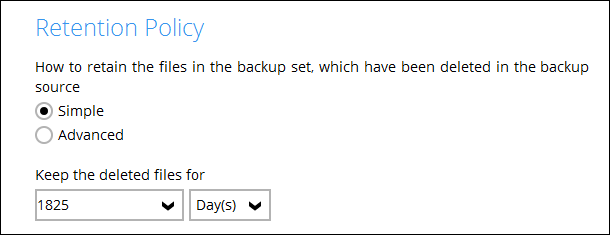
Over time, retained data can grow larger than you planned and cost more. To reduce it, shorten the retention period on the backup set:
- Edit the backup set.
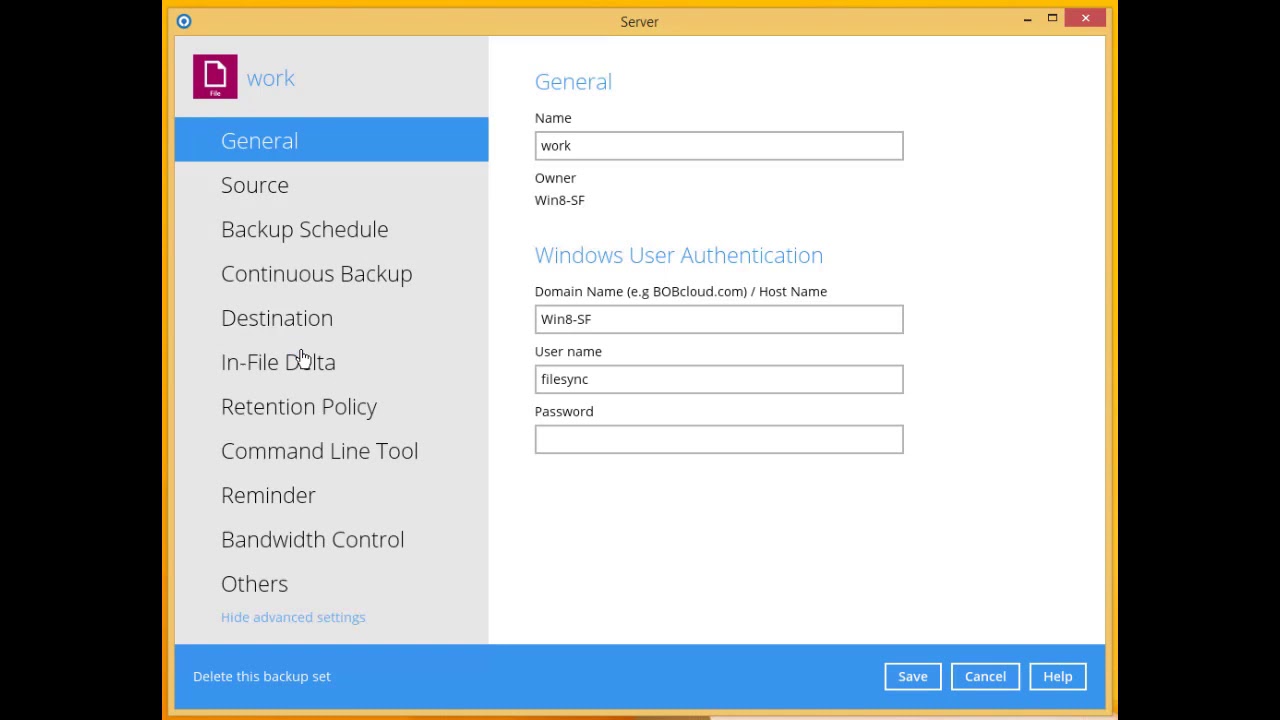
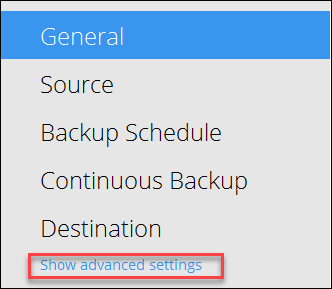
- Click Show advanced settings → Retention Policy.
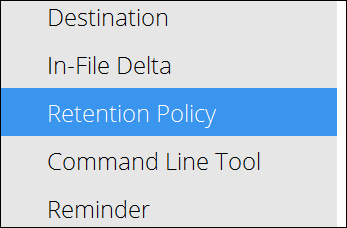
- Change the retention policy to the number of days you need, and save the backup set. The example shows the default of 5 years (1825 days).
Warning: retained data older than the new period is permanently deleted and can’t be recovered.
2. Apply the new retention period
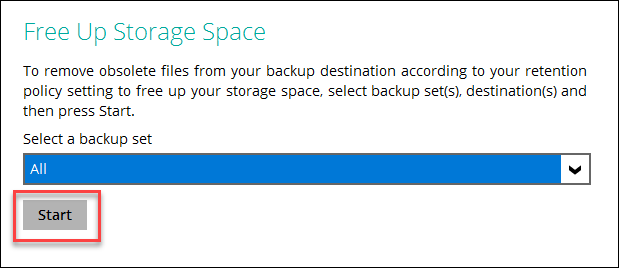
The new retention period is applied at the end of the backup set’s next successful backup. To apply it straight away instead:
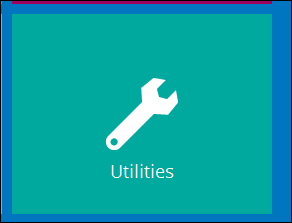
- Click Utilities.
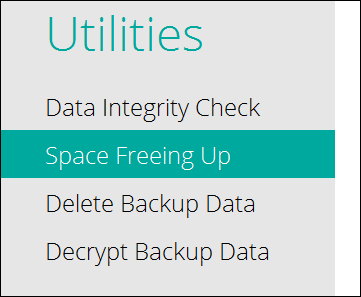
- Click Space Freeing Up.
- Select the required backup set and click Start.